
- What is View Orientation in Revit?
- Tools for Adjusting View Orientation in Revit
- Preparing to Rotate the View in Revit
- How to Rotate View in Revit?
- How do you Rotate a Plan North and True North in Revit?
- Common Challenges and Solutions in Rotating Views
- Conclusion
- FAQs (Frequently Asked Questions)
Rotating views in Revit helps keep your plans clear and your project well-organised. When views are properly aligned, they are easier to read, mistakes are less likely to happen, and teamwork becomes smoother.
It also helps keep all drawings consistent, making coordination with others easier. Learning how to rotate views correctly saves time, improves workflow, and ensures all project documents stay aligned.
In this article, you’ll learn about rotating views in Revit and the steps to prepare for rotation and proper execution. You’ll also discover the key differences between rotating Plan North and True North and common challenges and solutions to improve your workflow.
What is View Orientation in Revit?
View orientation in Revit is the direction from which you view and display the model. It determines how the building or design appears in 2D or 3D, ensuring that the right details are visible.
This is important when working with floor plans, sections, elevations, or 3D views, as it affects how dimensions and design elements are shown. By changing the view orientation, you can look at the model from different angles, making your project documentation clearer and more precise.
Revit provides different view types to help you control how the model is displayed. Understanding these view types allows you to adjust the perspective based on your project needs. Below are the view types in Revit:
| Types | Key Details |
| Floor Plans | A horizontal cut of the building at a set height, showing room layouts, walls, and dimensions, with orientation based on the building’s level. |
| Sections | A vertical slice of the building that reveals the internal structure, which can face forward or backward to help understand floor and space connections. |
| Elevations | A straight-on exterior view of the building that shows heights, windows, and materials, with orientation adjustable to display different sides. |
| 3D Views | A flexible view that allows rotation to see the model from any angle, adjustable using the View Cube or manual camera positioning for a complete perspective. |
A clear understanding of view orientation in Revit helps you work efficiently across plan, elevation, and 3D views. Depending on the project, adjusting a view’s display can enhance clarity, improve coordination, or create better presentations. To make these adjustments easier, Revit offers a range of tools for controlling view orientation.
Tools for Adjusting View Orientation in Revit
Managing and adjusting views in Revit is key to working efficiently and coordinating projects. A properly set view helps you understand the design, detect issues early, and present the model clearly.
Whether you’re fine-tuning perspectives, setting up views for documentation, or examining details, controlling view orientation makes the workflow smoother and more accurate. Below are the tools that help in adjusting view orientation in Revit:
- View Cube: Navigation tool in the top-right corner of the 3D view window that allows you to quickly change the view by clicking on its faces, edges, or corners. You can also rotate it manually to find a specific angle.
- Camera Tool: Allows you to position a camera in the model to create perspective views, making it useful for capturing dynamic angles of your design.
- View Control Bar: Found at the bottom of the drawing area, this bar lets you adjust visibility settings, scale, and other view parameters to clarify your model from different orientations.
- Rotate View Tool: Helps rotate the view to a specific angle without affecting the model, helpful in aligning views with references or adjusting default orientations.
- Plan View Orientation: Controlled by the crop region, which defines the visible area of the plan. Adjusting it helps rotate or shift the view to better-fit layouts, especially for irregularly shaped buildings.
It’s important to use the right tools for rotation, alignment, and positioning to adjust view orientation effectively in Revit.
Before rotating a view in Revit, ensure everything is set up correctly. Proper preparation helps maintain accuracy and prevents issues with alignment.
Also read: A Complete Guide to Adding, Customising, and Organising Revit Families.
Preparing to Rotate the View in Revit
Before rotating a view in Revit, ensure the model is set up correctly to avoid misalignment issues. Understanding how views are positioned and how rotation affects elements like annotations, section markers, and crop boundaries helps keep everything aligned.
Proper preparation allows for precise adjustments, whether you’re rotating a floor plan for better readability or a 3D view for clearer visualisation. Taking these steps ensures a smooth workflow and keeps the design accurate.
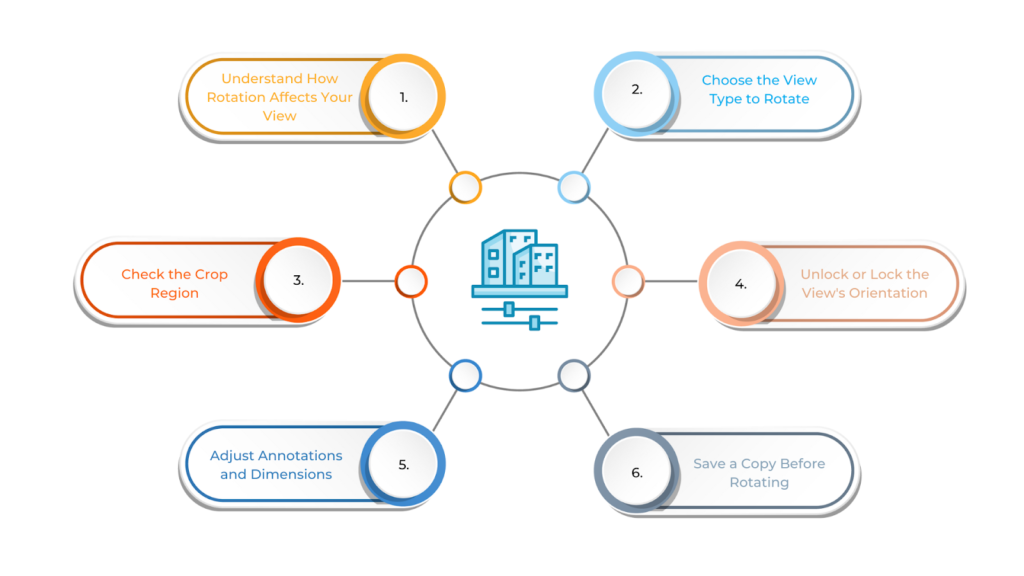
To prepare for rotating the view in Revit, follow these steps:
- Understand How Rotation Affects Your View
Rotating a view doesn’t change the model itself, only the way you see it. However, text, dimensions, and annotations may not rotate automatically and need manual adjustments.
- Choose the View Type to Rotate
Revit allows you to rotate different types of views, such as floor plans, 3D views, sections, and elevations. When rotating a floor plan, ensure the crop region aligns properly since it affects the view boundary.
For 3D views, use the View Cube or Camera tool to rotate and explore different perspectives. Sections and elevations can also be rotated, but you should consider how cropping and displayed elements will be affected.
- Check the Crop Region
If you are working with a floor plan or section, ensure the crop region is visible and properly set before rotating. Rotating the view can sometimes misalign the crop, so you may need to adjust it afterward to keep the right parts of the design visible.
- Unlock or Lock the View’s Orientation
Some views, such as floor plans with a defined north direction, may have a locked orientation to prevent accidental changes. Before rotating the view, unlock it to allow free movement. Once you’ve made the necessary adjustments, you can lock it again to maintain consistency.
- Adjust Annotations and Dimensions
Annotations and dimensions do not always rotate automatically with the view. Text and labels may appear misaligned and will need repositioning. Similarly, dimensions aligned to a specific direction will remain fixed, so you may need to adjust them manually or use aligned dimensions to match the new orientation.
- Save a Copy Before Rotating
It’s always a good practice to duplicate the view before making changes. This allows you to keep the original orientation intact for reference. Rename the duplicate view (e.g., “Floor Plan – Rotated”) so you can freely experiment with rotations without losing the original setup.
Once your workspace is set up and the necessary preparations are in place, you’re ready to rotate the view.
Ready to simplify your projects and achieve the benefits?
BIM ASSOCIATES is your one-stop BIM Solution provider for Revit Architectural and Structural Solutions. They coordinate with your team to develop, record, and streamline the BIM Revit Model, along with the sheets, Bill of Quantities, Bill of Materials, and clash coordination.
How to Rotate View in Revit?
Rotating a view in Revit helps you see, align, and present your model more clearly. Using the right methods ensures that annotations, dimensions, and other elements stay properly aligned while keeping your workflow smooth and efficient.
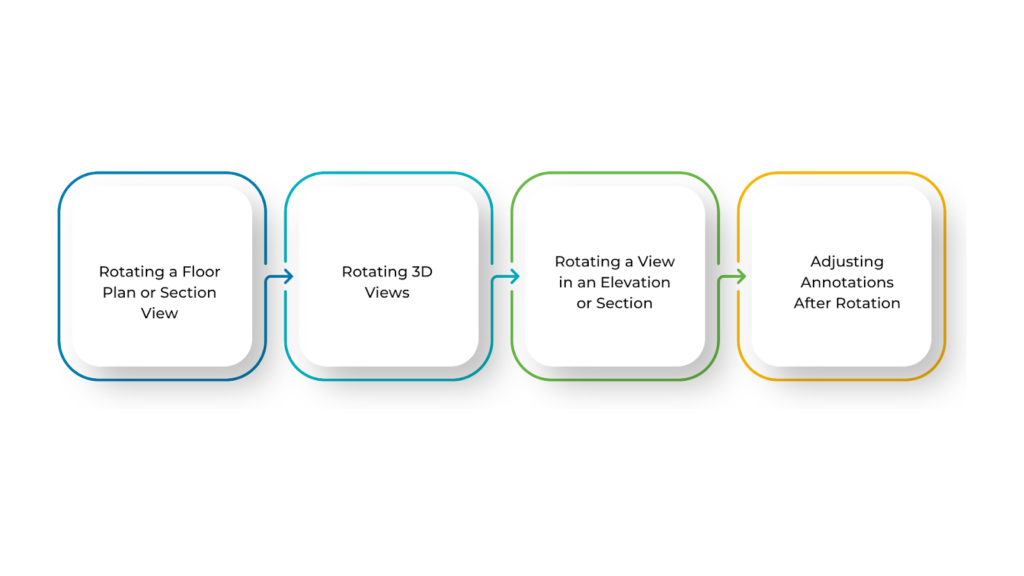
Rotating a view in Revit is simple, but you must keep your model accurate and ensure all elements appear correctly. To rotate different types of views in your Revit project, follow the below steps:
- Rotating a Floor Plan or Section View
When you’re working with floor plans or section views in Revit, the right orientation helps with clear documentation and easy navigation. Sometimes, you may need to rotate a view to align it with a building angle, improve readability, or meet project requirements.
To rotate a floor plan or section view, follow these steps:
- Select the View: In the Project Browser, right-click on the floor plan or section you want to rotate and choose “Activate View.” This will open the view in the drawing area.
- Show the Crop Region: If the crop region is not visible, turn it on by going to “Visibility/Graphics” and checking “Crop Region” under the Visibility tab. This ensures you can control the view’s boundaries.
- Rotate the View: Open the “View” tab on the ribbon, then click “Rotate View” in the “Modify” panel. Select the Rotate option from the menu. Revit will ask you to choose a base point for rotation. Click anywhere in the drawing area to set this point, then drag your mouse to rotate the view. If you need an exact angle, you can type in a specific value.
- Adjust the Crop Region: After rotating, check the crop region to ensure it fits the view correctly. If needed, select the crop boundary and move its handles to adjust the framing.
- Rotating 3D Views
Changing the angle of a 3D view in Revit helps you examine design details, coordinate elements, and create clear visual presentations. Revit’s rotation tools make navigation easy and give you precise control.
To rotate 3D views, follow these steps:
- Select the 3D View: Open the 3D view from the Project Browser. If you’re in another view, switch to the 3D view first.
- Use the View Cube: You’ll find the View Cube in the top-right corner of the 3D view window. Click on its faces, edges, or corners to quickly rotate the view and change your perspective.
- Rotate Manually: Hold the Shift key on your keyboard and use the middle mouse button to drag and rotate the view freely. This gives you more control over the angle and direction.
- Adjust the Camera: If you’re using a camera for the 3D view, you can reposition it for a better angle. Go to the View tab, click Camera, and move the camera to adjust its location and direction.
- Rotating a View in an Elevation or Section
In Revit, rotating an elevation or section view can help align it with sloped elements, improve design clarity, and make documentation clearer. Rotating them correctly ensures they stay aligned with the building’s geometry while keeping annotations and reference elements in place.
To rotate a view in an elevation or section, follow these steps:
- Select the View: Open the Project Browser and double-click the elevation or section view you want to rotate.
- Adjust in View Properties: Unlike floor plans, elevation and section views don’t rotate freely. Instead, you can modify their orientation using the View Properties panel, but full rotation isn’t available.
- Reposition the View: If needed, slightly move the view within the drawing area to better fit your sheet or design layout.
- Adjusting Annotations After Rotation
After rotating a view in Revit, annotations like text, dimensions, and tags may not align properly or might be hard to read. Since these elements are usually placed based on the original view, you may need to adjust them to keep the documentation clear and consistent.
To adjust annotations after rotation, follow them:
- Text and Labels: Manually move or rotate them to match the new orientation.
- Dimensions: If they appear misaligned, select and adjust them to fit the rotated view.
- Repositioning Annotations: If any elements look distorted, reposition them to keep everything clear and accurate.
Rotating a view helps with readability and organisation, but for precise project alignment, you may need to adjust Plan North or True North.
How do you Rotate a Plan North and True North in Revit?

In Revit, keeping the correct orientation is important for accurate design and coordination. There are two types of north: Project North, which is set for easier drawing and layout, and True North, which matches the actual geographic direction.
Knowing how to rotate both helps ensure your design stays aligned with real-world coordinates while remaining clear and easy to work with.
- Rotating Plan North (View-Specific)
Plan North is the direction used for drawing and documenting your floor plans. It’s set up to make your plans easy to read and consistent across your project.
Plan North is adjusted to present the building in a clear, organised way for construction and coordination. This helps teams work with the same reference point, making communication smoother.
To rotate Plan North in Revit, follow these steps:
- Open the Floor Plan: Go to the plan view you want to modify and check that the orientation is set to Project North in the Properties Panel.
- Enable the Rotate Tool: Click on the Manage tab, go to the Position Panel, and select Rotate Project North.
- Choose the Rotation Method: Select Align to View to match a specific view or Align to Selected Line to rotate based on a chosen reference.
- Confirm Rotation: Revit will update the Project North orientation while keeping True North unchanged.
- Rotate True North (Geographic Orientation)
True North is the real-world north, based on the Earth’s axis. Unlike Magnetic North, which changes over time, True North stays the same. It’s essential for construction and architecture site planning, solar studies, and energy analysis.
While Plan North helps keep drawings clear and easy to read, True North ensures the building is correctly aligned with its surroundings. To rotate True North, follow these steps:
- Open a Site Plan or True North View: Start by opening a site plan or any view that is set to display True North.
- Access the Rotation Tool: Go to the Manage tab and click Position > Rotate True North.
- Select the Model: Click to select the entire model that needs to be rotated.
- Rotate to Align with True North: Enter a specific rotation angle or use reference points to align the model with the actual north direction.
While rotating Plan North and True North helps with documentation and site alignment, the process isn’t always simple. Users often encounter some challenges.
Common Challenges and Solutions in Rotating Views
Rotating views in Revit is important for adjusting a project’s orientation, but it can be tricky. You might face issues like misaligned elements, distorted views, or problems with annotations and sheet layouts. Knowing the challenges and fixing them can help you work more smoothly.
Below are some of the common challenges and effective solutions in rotating views in Revit:
| Challenges | Solutions |
| Plan North Rotation affects all views | In the Properties panel of the view, set Orientation to True North before rotating. |
| True North Rotation changes the entire model orientation | Use Rotate Project North instead if you only want to adjust plan orientation for readability. |
| Can’t rotate the view in the sheet | Use Rotate on Sheet (select view > rotate) or adjust the rotation in the view itself before placing it on the sheet. |
| Model appears skewed after rotation | Verify whether you need to rotate Project North or True North and adjust accordingly. |
| Linked models do not rotate correctly | In the Manage Links settings, adjust the rotation or use the Shared Coordinates tool for proper alignment. |
| Annotations and text stay fixed after rotation | Select annotations and manually adjust their orientation, or use a rotated view for better alignment. |
| Cannot select proper rotation axis | Use the Align Selected Line or Plane option when rotating Project North for precise control. |
| Rotation causes misalignment with the Site Plan | Use the Acquire Coordinates tool to match the site’s True North before rotating the project. |
BIM Supports GREEN EARTH.

Conclusion
Knowing how to rotate Plan North and True North in Revit helps keep your drawings clear and your project well-aligned. Use Plan North for better readability and True North for accurate site coordination.
Regular practice will make the process easier, allowing you to work faster and avoid errors. The more you experiment with different situations, the more confident you’ll become, making it simpler to handle complex projects smoothly.
Are you looking for BIM solutions?
BIM ASSOCIATES is your one-stop BIM Solution provider for the Architecture and Structure discipline. Their solutions help clients with better decision-making, cost-saving, efficient construction planning, and green earth initiatives.
You might also like: 11 Steps to Create Revit Dynamo Scripts for Beginners.
FAQs (Frequently Asked Questions)
1. How do I rotate an item on Revit?
Select the item you want to rotate, then go to the Modify tab and click Rotate. You can also press Enter after choosing the Rotate tool. If you’re placing a component, you can check the Rotate after placement option in the Options Bar to adjust its position immediately.
2. Why can’t I rotate Project North?
If you’re unable to rotate Project North, try again by going to Manage > Project Location > Position > Rotate Project North. If this doesn’t work, use a rotated scope box to adjust the view without affecting the whole project.
3. How do you flip a project in Revit?
To flip an entire project, go to Manage > Project Location > Position > Mirror Project. In the Mirror Project dialog, choose:
- North to South to flip the model vertically.
- East to West to flip it horizontally.