Revit is a fundamental tool in architecture, engineering, and construction (AEC), and the UK, USA are one of the top countries using it to design, model, and collaborate efficiently. However, as projects grow in complexity, the demand for time and resources increases, making it challenging to maintain productivity and accuracy.
This is where automation comes in, offering smarter ways to streamline workflows, reduce repetitive tasks, and improve accuracy. Revit automation provides various tools for all skill levels, from visual programming with Revit Dynamo to custom scripts and advanced add-ins.
In this article, you’ll explore the benefits of Revit automation and six effective methods for automating Revit tasks, such as Dynamo, pyRevit scripts, macros, and specialised tools like Ideate Automation.
Benefits of Automation in Revit
Automation in Revit transforms how architecture, engineering, and construction (AEC) professionals approach design and project management. It streamlines repetitive tasks, enhances accuracy, enables tailored solutions, and empowers teams to work efficiently and deliver projects faster with greater precision.
The key benefits of automation in Revit are as follows:
Increasing Efficiency by Reducing Repetitive Tasks
Revit projects typically require routine tasks like updating schedules, annotating drawings, and generating views. Automation removes the need for manual effort, streamlining workflows & allowing to focus on more strategic activities. It helps in:
- Faster Execution: Automated tools can complete tasks that once took hours in just minutes.
- Increased Productivity: Teams can concentrate on design innovation instead of being tied up with repetitive operations.
- 100% QUALITY : Using Automation tools, quality output can be taken to 100% and this also saves time on re QC time and efforts.
For instance, automating the placement of repetitive elements, such as lighting fixtures or structural components, greatly accelerates project timelines. Users have also expressed that Revit allows automatic documentation, which makes work efficient.
Enhancing Accuracy by Minimising Human Error
Revit models demand precision, yet manual input can result in inconsistencies and errors that impact the entire project. Automation addresses this by enforcing predefined standards and reducing mistakes. It helps in:
- Standardisation: Automated processes ensure uniformity in data entries, annotations, and model updates.
- Error Reduction: Tasks like clash detection and parameter consistency checks become quicker and more reliable.
For instance, an automated clash detection script quickly identifies conflicts between MEP systems and structural components, reducing the time spent on revisions.
Customising Workflows to Suit Project-Specific Needs
Every project is unique, and automation lets you customise workflows to meet specific requirements. Revit’s automation features, including Dynamo scripts and third-party tools, enable tailored solutions for diverse needs. They help in:
- Flexibility: Customise automation to address unique challenges like complex geometry or localised standards.
- Scalability: Efficiently manage projects of any size, from small residential designs to large commercial developments.
For example, custom scripts can automate the creation of parametric families tailored to specific client requirements, delivering faster and more precise results.
The advantages of automation in Revit are clear, from reducing repetitive tasks to enhancing accuracy and efficiency. But how do you actually put automation into action? This is where tools like Dynamo come into play, offering a streamlined way to supercharge your workflows.
1. Automating Revit Using Dynamo

Dynamo transforms Revit users’ approaches to automation. It offers a visual programming interface that is accessible even without extensive coding knowledge. Whether you’re new to automation or seeking to optimise workflows, Dynamo is essential for streamlining processes and boosting efficiency in Revit projects.
The Dynamo tools help in automation through the following:
Dynamo is Suitable for Non-Coders
Dynamo is already part of Revit, so you don’t need to install any extra software. Its visual programming environment is easy to use, even for those without programming experience.
Instead of coding, you can build workflows by connecting “nodes“—graphical elements that represent functions or tasks.
Dynamo empowers you to build efficient automation workflows with ease, offering several features that make it accessible and highly effective:
- Dynamo’s drag-and-drop functionality lets you create complex workflows visually.
- Architects, engineers, and designers can quickly learn Dynamo without coding knowledge.
- Dynamo offers real-time previews, allowing you to see the effects of your scripts immediately in Revit.
Perform Tasks Efficiently Using 8–10 Nodes in Dynamo
One of Dynamo’s key advantages is its ability to handle complex tasks with just a few carefully placed nodes. This efficiency allows users to automate repetitive or intricate processes without complicating the workflow.
Dynamo’s streamlined approach to automation allows you to tackle complex tasks efficiently, offering several key advantages:
- Many tasks, like modifying parameters, generating schedules, or creating geometry, can be accomplished with fewer than 10 nodes.
- You can spend less time on setup and more time on design by streamlining processes.
- Once created, these concise scripts can be saved and reused in multiple projects, enhancing overall efficiency.
A Dynamo script with 8–10 nodes can automatically align furniture layouts or adjust room parameters based on area constraints, saving you hours of manual adjustments.
Also read: A Guide to Creating Structural Revit Model in Design Development.
2. Utilising Custom pyRevit Scripts
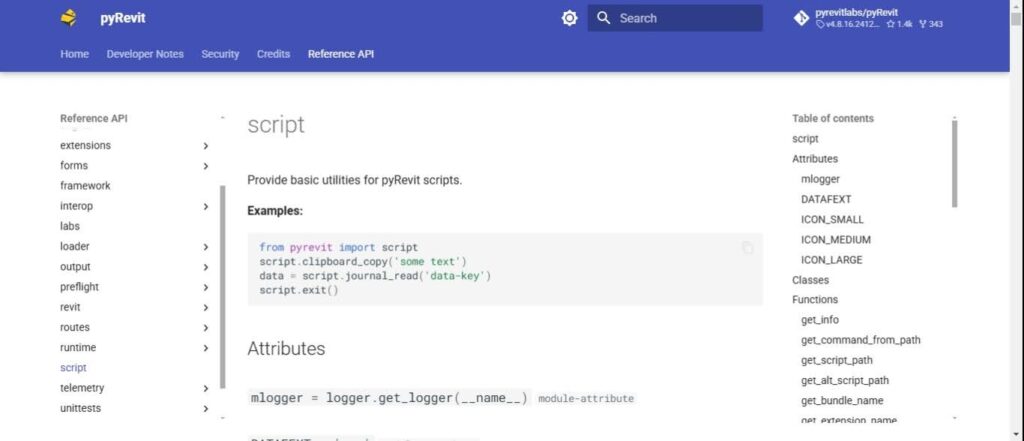
Automation in Revit has advanced significantly with pyRevit, a Python-based tool designed to streamline workflows. It enables users to create custom scripts that simplify repetitive tasks and improve project accuracy. With pyRevit, you can develop tailored solutions to work more efficiently and achieve better results.
To unfold the full potential of pyRevit, it’s essential to know the foundation it’s built upon. Python-based scripting is the backbone, offering the versatility and precision needed to create solid, custom tools.
Understanding Python-Based Scripting
Python is popular for its simplicity and versatility, making it an ultimate choice for automating tasks in Revit. pyRevit allows you to harness Python to create scripts that interact directly with Revit’s API, opening up a world of possibilities.
Python scripting with pyRevit provides a solid and versatile way to enhance your workflows, offering several standout benefits, such as:
- Python scripts automate data extraction, model validation, and custom parameter modifications.
- Whether you’re updating a set of views or creating custom families, Python handles tasks of varying complexity with ease.
- pyRevit benefits from an active community that offers libraries, resources, & examples to help you get started quickly.
For instance, a simple Python script can batch rename sheets based on a predefined naming convention, saving hours of manual effort.
Harnessing the power of Python scripts is just the beginning. To make these tools even more accessible and user-friendly, integrating them into a custom Revit ribbon provides a seamless way to streamline workflows and enhance productivity.
Simplifying Access Through a Custom Revit Ribbon
pyRevit enhances usability by seamlessly integrating custom scripts into Revit’s interface via a customised ribbon. This feature provides one-click access to your most frequently used scripts, optimising and streamlining your workflow.
Creating a custom Revit ribbon offers numerous benefits that can transform how you and your team interact with essential tools. Here are a few key advantages:
- Organise your scripts into categories and place them in a custom tab for a clean and user-friendly interface.
- Access essential scripts instantly from the ribbon, eliminating the need to search through directories or toolbars.
- Share the custom ribbon with your team so everyone can use the same tools, promoting consistency and efficiency.
For example, a custom pyRevit ribbon can feature buttons for tasks such as exporting schedules to Excel, auditing project standards, or creating 3D views for specific elements.
Building a custom pyRevit ribbon improves accessibility and efficiency. However, for more advanced functionality and flexibility, integrating a Python shell into your workflow takes it further by enabling real-time script execution and dynamic problem-solving.
3. Implementing Python Shell
The Python Shell integration in Revit offers a dynamic and efficient way to automate tasks, streamline workflows, and interact with models in real time. Whether optimising processes or making quick adjustments, the Python Shell enables efficient scripting within the Revit environment.
You can leverage a Python Shell to revolutionise your Revit projects in the following ways:
Directly Script Within the Revit Environment
The Python Shell offers an integrated environment for writing and testing Python scripts directly within Revit, removing the need for external tools. This streamlined setup simplifies the scripting process, making automation more accessible, even for users with limited programming experience.
Using a Python shell within Revit offers several practical benefits that make it a perfect tool for both beginners and advanced users. Here are some key advantages:
- The Python Shell is built into Revit, so there’s no need to switch between applications or deal with complex configurations.
- Write, test, and refine scripts instantly while working on your Revit model, enabling real-time feedback.
- Python’s simple syntax makes it easy for beginners, while its flexibility supports more advanced users for complex tasks.
For instance, you can create a Python script in the Shell to extract all wall types in a project and compile them into an Excel file, significantly reducing manual data collection time.
Execute Python Code Against the Current Model
One of the Python Shell’s key strengths is its ability to interact directly with the active Revit model. This allows for precise and efficient real-time modifications or queries.
The Python Shell empowers you to interact with your Revit model in real time, offering unparalleled flexibility and control. Here are some of its standout features:
- Perform tasks such as renaming views, modifying parameters, or creating elements without restarting Revit or reloading the model.
- Access and modify elements like families, parameters, and geometry directly from the Python Shell.
- Test code snippets on the current model to ensure they work as expected before incorporating them into larger scripts.
For example, you can use Python to filter all doors in the model, update their hardware specifications, and generate a summary report in one seamless process from the Python Shell.
While the Python Shell provides dynamic, real-time scripting capabilities, Revit macros offer a structured way to automate repetitive tasks and embed custom solutions directly within your project environment.
Want to streamline your workflows and unfold the full potential of Revit?
BIM ASSOCIATES is your one-stop BIM Structural Solution provider for Revit Architectural and Structural Solutions. They coordinate with your team to develop, record, and streamline the BIM Structural Revit Model, along with the sheets, Bill of Quantities, and Bill of Materials, as well as clash coordination.
4. Employing Revit Macros
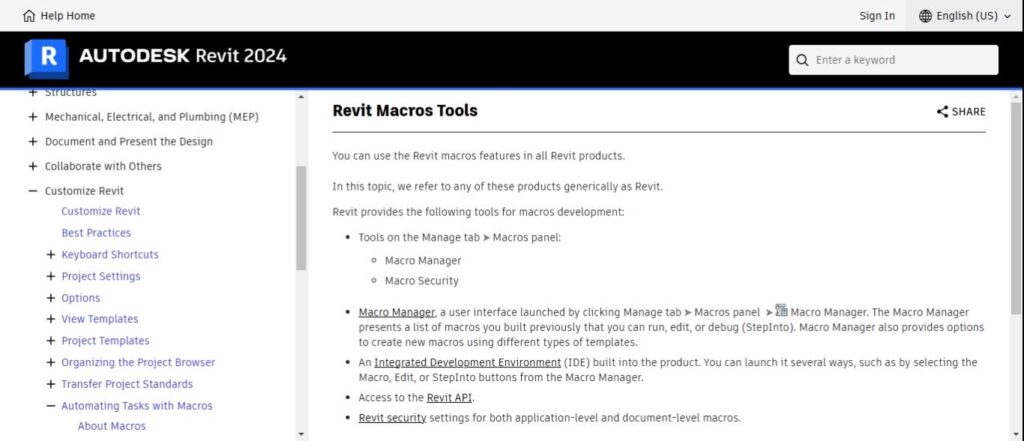
Revit macros are a valuable tool for improving your workflow by automating repetitive tasks & simplifying complex processes. Macros are integrated directly into Revit to enable users to create custom commands using the Revit API. Whether you’re making quick adjustments or building reusable tools, macros can help save both time and effort in your BIM projects.
Revit’s Macro Editor offers a range of features that make creating and managing automation scripts both convenient and effective. The key benefits include:
- The macro editor is directly available within Revit, so you don’t need external development tools.
- Using Revit’s powerful API, macros can automate tasks such as adjusting parameters, generating schedules, or creating geometry.
- The editor provides tools for testing and debugging scripts, ensuring they function correctly before applying them to your model.
To fully harness the potential of macros, it’s crucial to understand how to create & manage them within Revit’s Macro Editor.
Creating Macros Within Revit’s Macro Editor
Revit’s built-in macro editor offers an easy way to create and run custom automation scripts without third-party software. You can leverage programming languages like C# or VB.NET to write macros that meet your specific requirements.
To create a macro, first go to the Manage tab in Revit and select Macros. Then, choose “Create Macro” and pick the appropriate module type:
- Application Module: For macros that work across all projects.
- Document Module: For macros specific to the current project.
Next, write your macro in the editor using C# or VB.NET. Finally, save and run the macro to automate the task. Once your macro is complete, deciding where and how to store it becomes crucial for accessibility and reuse.
Storing Macros in RVT Files and Converting to Add-Ins
Macros created in Revit can be saved directly within RVT files, ensuring they are portable and easy to share. For more advanced applications, macros can also be converted into standalone add-ins to support broader use cases.
Storing macros effectively ensures they are readily available and tailored to your workflow needs. Here are the primary options for managing macros:
- When stored in a project file, macros remain accessible whenever the file is opened. This makes them perfect for project-specific automation tasks.
- Macros can be stored in template files to help standardise workflows across multiple projects.
- Macros can be transformed into Revit add-ins using the Revit API for added flexibility. Add-ins can be installed separately, used across projects, or shared with teams.
To convert a macro into an add-in, export and refine the macro code for enhanced compatibility. Next, use Microsoft Visual Studio and the Revit API libraries to package the macro as a robust add-in. Finally, deploy the add-in by placing it in Revit’s plug-in directory, making it accessible across projects and easily shareable with your team.
Once your macro is successfully converted into an add-in, it opens up even more possibilities for streamlining workflows. Revit add-ins provide a powerful way to automate complex tasks.
5. Utilising Revit Add-ins
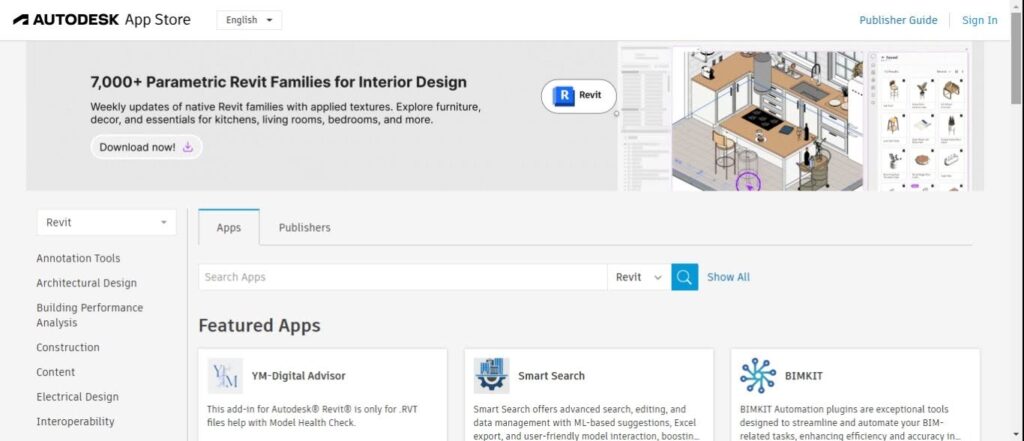
Revit add-ins enhance the platform’s capabilities by providing additional functionality and automating repetitive, complex, or custom workflows. These plugins can be either downloaded or custom-built to suit your project needs. To leverage Revit add-ins for automation, follow these steps:
Explore User-friendly & Powerful Tools
Many pre-built Revit add-ins are designed to be user-friendly and highly effective, making automation accessible to technical and non-technical users. These tools simplify various tasks, from managing parameters to conducting advanced design analysis.
Revit add-ins offer a range of benefits that enhance productivity & simplify even the most complex workflows. The key advantages include:
- Add-ins often come with intuitive interfaces to perform complex workflows with just a few clicks.
- Automating tasks such as scheduling, model validation, and data export can save hours of manual work.
- Add-ins are available for clash detection, project management, visualisation, and data management.
Popular Add-ins streamline Revit workflows by automating routine tasks, saving time, and reducing manual effort. They enhance accuracy with parameter validation and clash detection tools, minimising errors. The most popular add-ins are as follows:
| Add-ins | Key Details |
| pyRevit | A powerful open-source tool for scripting and automation. |
| Enscape | Real-time rendering and VR for project visualisation. |
| RevitLookup | A tool for inspecting and analysing Revit model data. |
| Ideate BIMLink | Facilitates data exchange between Revit and Excel. |
To fully leverage the potential of custom add-ins, it’s essential to understand the technical requirements for their creation.
Understanding Technical Requirements for Creation
Creating custom Revit add-ins allows you to address specific needs that pre-built tools may not cover. Developing an add-in requires knowledge of Revit’s API and programming skills. This involves:
- Programming Languages: Revit add-ins are developed using C# or VB.NET in Microsoft Visual Studio.
- Revit API: The Application Programming Interface (API) provides developers access to Revit’s core features, such as element creation, parameter changes, and data extraction.
To harness the power of Revit’s API effectively, it’s essential to understand the tools required for developing add-ins. Creating Revit add-ins requires the following essential tools:
| Tools | Key Details |
| Visual Studio | The primary software for writing add-in code. |
| Revit API SDK | A kit that includes documentation, examples, and tools for developing add-ins. |
| Add-In Manifest | A configuration file (.addin) must register the add-in with Revit. |
To Create a Revit Add-In, set up the environment by installing Visual Studio and the Revit API SDK. Then, write the code using C# or VB.NET to define the add-in’s features. After that, test the add-in on sample models to ensure they function correctly. Finally, package and place the add-in in Revit’s add-in directory for installation.
The key considerations when creating and using Revit add-ins are as follows:
- Ensure the add-ins are compatible with your version of Revit.
- Optimise the code to maintain performance, especially with large models.
- Provide clear documentation to help users fully utilise the add-in features.
You can create reliable and efficient add-ins that enhance workflows and user experience by addressing these key considerations. But, if you’re seeking ready-made solutions, tools like Ideate Automation offer a powerful way to automate Revit tasks and streamline project management.
6. Automate Revit Tasks with Ideate Automation
Ideate Automation is a powerful tool designed to improve productivity and accuracy by automating time-consuming Revit tasks. It integrates smoothly with the Ideate Software ecosystem, allowing users to schedule, execute, and monitor repetitive workflows without requiring manual input.
Ideate Automation enhances Revit workflows in the following ways:
Streamline Repetitive Tasks
Tasks such as updating parameters, exporting data, and cleaning models can be time-consuming and prone to errors when done manually. For instance, schedule Ideate BIMLink to extract room data daily and automatically update it in Excel for reporting purposes.
Improve Model Accuracy
Manual workflows often result in overlooked errors or inconsistencies. Ideate Automation helps reduce the risk of mistakes by ensuring tasks are performed consistently & accurately. Ideate StyleManager automatically cleansclean up unused styles and duplicate materials across all project files.
Save Time with Scheduling
Ideate Automation supports scheduling, enabling users to set workflows to run at specific times or during off-peak hours. You can schedule a nightly script to audit models, update parameters, and generate daily progress reports.
Easy Integration with Existing Tools
Ideate Automation integrates seamlessly with other Ideate Software tools and external applications, such as Microsoft Excel. Automatically export Revit schedules to Excel using Ideate BIMLink, format the data, and upload it to a shared project management tool.
BIM Supports GREEN EARTH.
Conclusion
Revit automation provides a smarter way to manage complex workflows, making your projects more efficient and accurate. By reducing manual work & reducing mistakes, it lets you focus on what really matters—design and innovation.
With the right tools and techniques, you can customizecustomise Revit to meet your project’s unique needs. This streamlines processes, improves team collaboration, and leads to better project results with less effort. Revit automation helps your team work smarter, accomplish more, and explore new possibilities in every project.
Are you looking for BIM solutions?
BIM ASSOCIATES is your one-stop BIM Solution provider for the Architecture and Structure discipline. Their solutions help clients with better decision-making, cost-saving, efficient construction planning, and green earth initiatives.
You might also like: Autodesk Revit 2025 Features & Benefits: A Detailed Guide.
FAQs (Frequently Asked Questions)
1. What is automation in Revit?
Automation in Revit offers several benefits, with the most noticeable being increased efficiency. For instance, if a task typically takes five clicks to complete, automation can reduce it to just one, saving valuable time.
2. Is Revit better than AutoCAD?
Revit is a more advanced and capable software for complex designs than AutoCAD. While AutoCAD is a simple 2D drafting tool, Revit is a parametric modelling software based on predefined parameters.
3. Does Revit have API?
RevitAPI.chm is the Autodesk Revit API reference documentation, provided as a help file with the SDK package located in the \Revit 2018 SDK\ folder.

